Air First, Tiles Second: Settling Bathroom Ventilation Before the First Fix
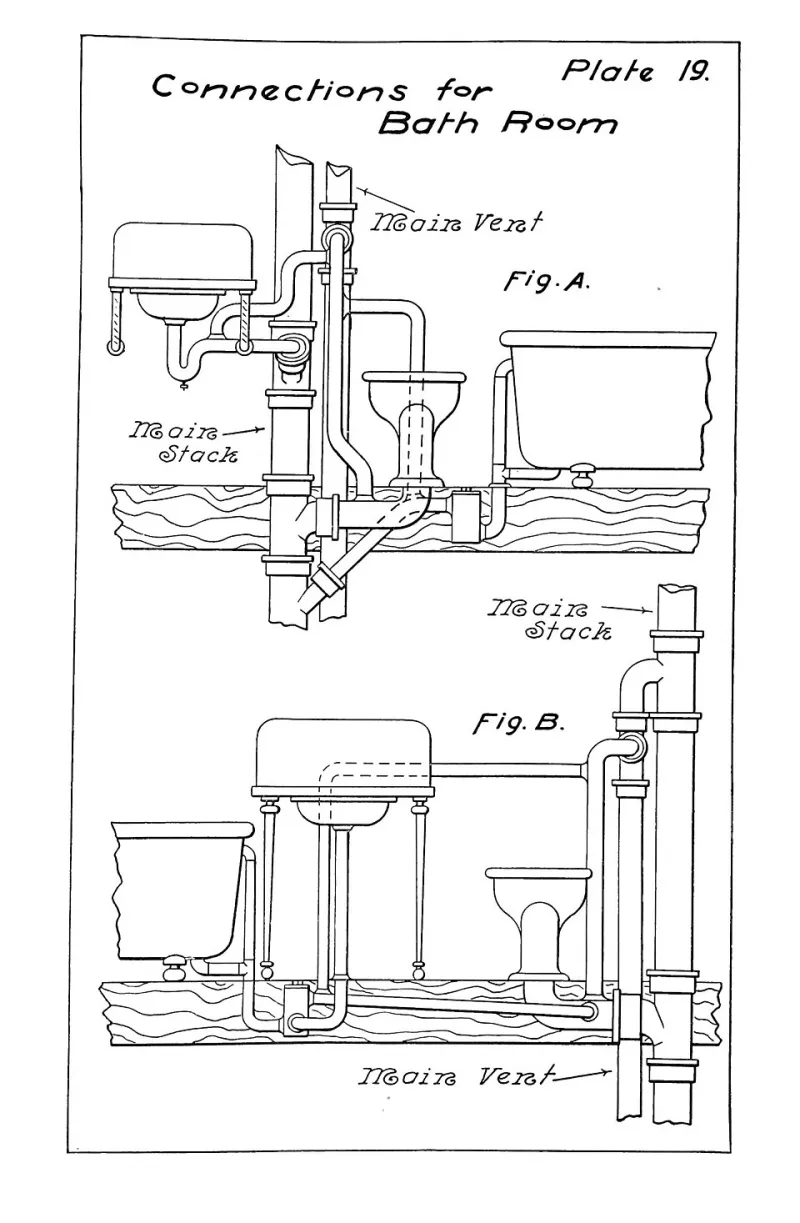
Photo: Internet Archive Book Images, No restrictions, via Wikimedia Commons
Most bathroom failures that appear two or three winters after completion are not the fault of the suite, the tiling or the silicone. They are the result of air having nowhere sensible to go. Steam that cannot leave a room will find plaster, grout and paint instead, and the resulting mould is expensive to remedy and awkward to explain. The decisions that prevent it are made early, in the ceiling void and the duct run, at a stage when they cost very little to change.
Why the sequence matters
An extract fan, its duct and the route it takes are first-fix items. Once the ceiling has been lowered, the boxing formed and the tiles fixed, the options narrow sharply. A run that needs one more bend, a duct that ought to be 125mm rather than 100mm, or an access panel that would be better moved a metre to the left becomes a compromise or a rework.
Planning the air path first also protects the visible finish. Boxing depth can be set to accommodate an insulated duct rather than crushing it. Access panels can be aligned with the tile grid instead of cutting across it. The extract grille can be centred over the shower rather than over the door, which is where it is often fitted for convenience of wiring rather than effectiveness.
What Part F asks for, in outline
In England, Approved Document F (Ventilation) sets out the requirement for dwellings. For a bathroom it typically means intermittent extract in the region of 15 litres per second, with lower continuous rates permitted where the fan runs permanently, and around 6 litres per second for a room containing only a WC. Kitchens carry higher rates still. The rates are only part of the picture: the document also expects replacement air to be available, provided through background ventilators such as trickle vents and through an internal air path, commonly a door undercut of about 10mm or an equivalent transfer grille.
Devolved arrangements differ. Wales, Scotland and Northern Ireland each publish their own ventilation guidance under their building regulations, and the detail is updated periodically. The practical point for any homeowner is straightforward: ventilation work is notifiable, it should be signed off by building control, and the installer should be able to state the design extract rate and demonstrate it at commissioning.
Where duct routes commonly go wrong
Flexible hose is the recurring culprit. Coiled, sagging or compressed into a void, it restricts airflow and creates low points where moist air condenses. Long runs with several sharp bends have the same effect, as does reducing a duct from 125mm to 100mm partway along a route that was sized for the larger diameter. Every bend and every metre exacts a cost in performance.
Terminations create their own problems. A duct that ends in a loft, under the eaves or in a roof void is not extracting anywhere; it is depositing moisture into a cold, poorly ventilated space where it will eventually stain a ceiling. Ductwork passing through an unheated loft should be insulated, and where possible should run with a slight fall back towards the fan so that condensate drains rather than pooling.
Positioning matters too. A humidity sensor placed beside the door responds to the landing rather than the shower. A recirculating cooker hood described as extraction is not extraction at all. And a fan sized for a short straight run will struggle on a long convoluted one, however good its quoted figures.
Coordinating ventilation with the finished room
The duct should be drawn on the plan before the boxing is built. That drawing should show the grille position, the diameter, the number of bends, the point of termination and any point where the duct passes through a cold space. Once the route is fixed, the finishes can be set around it: tile lines, ceiling height, downlight spacing, the mirror cabinet and any concealed cistern all need to coexist with the duct without one being an afterthought to another.
Seven checks to agree before work starts
- Route on a drawing. A single plan showing grille to external wall, with the diameter and the number of bends stated, agreed and signed before the first fix begins.
- Fan specification. Extract rate in litres per second, whether it runs intermittently or continuously, humidity or timer control, sound level in decibels and IP rating for the zone it sits in.
- Termination point. An external discharge with a suitable cowl or grille, positioned clear of openable windows and air intakes, and confirmed as accessible for maintenance.
- Duct material and detailing. Rigid or semi-rigid duct rather than slack flexible hose, joints sealed with foil tape, insulation wherever the run crosses a cold space, and no crushed sections.
- Make-up air. Trickle vents included in the window specification, a door undercut or transfer grille confirmed, and no attempt to make the bathroom airtight while expecting the fan to work.
- Maintenance access. A hatch or removable panel so the fan and duct can be reached and cleaned, with its location noted at handover.
- Paperwork. Building control notification where required, a commissioning record, product manuals and a note of the filter cleaning interval.
The finish you cannot see
Grout lines, silicone and tile alignment are inspected on the day of handover. Ventilation is judged eighteen months later, when a cold corner of the ceiling begins to darken. Asking for the seven points above in writing costs an hour of planning time and protects a great deal more. On a bathroom renovation, the air path deserves the same attention as the choice of tiles, and the right moment to settle it is before the first one is fixed.