Before the Screed Sets: A Millimetre Brief for Thresholds, Undercuts and Floor Transitions
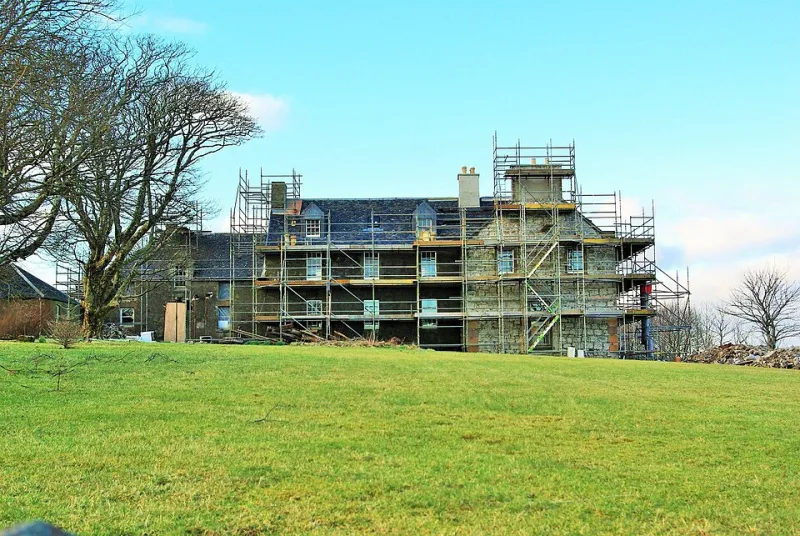
Photo: Tiger , CC BY-SA 2.0, via Wikimedia Commons
A room can be painted to a high standard, tiled with precision and fitted with well-made joinery, yet still feel unresolved underfoot. The tell is rarely a major defect. It is a door that catches a new tile, a threshold that introduces an unexpected step, or a skirting line that reveals a gap too wide to be called intentional. These are not failures of the finishing trades. They are usually the visible result of decisions that were never made in the right order.
The last five millimetres of a renovation are decided long before the final fix. Thresholds, undercuts and perimeter gaps need to be part of the technical brief while screeds are still being specified and door sets are still being ordered. On a UK renovation, where existing floors are often out of level and door openings are rarely square, that planning is what separates a competent finish from a genuinely smooth one.
The Three Interfaces That Decide How a Home Feels
Most of the small level changes in a home occur at three interfaces: where one floor covering meets another, where a door leaf passes over a floor, and where a floor meets a wall. Each has a practical tolerance, and each is difficult to correct once the build-up is fixed.
A threshold between a tiled bathroom and a timber hallway is not merely a trim. It is a junction between two different build-ups, two different movement characteristics and, often, two different finished floor levels. A door undercut is not simply a gap beneath a leaf. It is the clearance that allows the door to clear a rug, a tile and a threshold without scraping. A perimeter gap is not a gap at all in the finished room; it is the movement allowance that will be concealed by skirting. Treating these as trim decisions rather than setting-out decisions is where many otherwise well-run projects lose their polish.
Reading the Existing Floor Before the New One
Older UK housing stock rarely offers a clean datum. Victorian terraces may have a mix of suspended timber and solid floors, 1930s semis often reveal joist deflection under later partitions, and previous renovations can leave behind quarry tiles, patch screeds and levelling compounds of uncertain thickness. The measured survey should record finished floor levels room by room, not only plan dimensions.
A practical approach is to establish a single site datum and take level readings at each doorway, at the proposed threshold positions and at the perimeter of every room. Where a floor is out of level, the brief should state whether the new build-up will follow the existing fall, whether it will be levelled, or whether a transition will be formed. This is particularly important where an extension meets an original wall. The new slab may be flat while the old floor is not, and the difference will appear at the exact point where the two finishes meet.
Setting Finished Floor Levels Before Screed
A finished floor level schedule is one of the most useful documents on a renovation. It should list the floor build-up from structure upwards: joists or slab, deck, insulation, underfloor heating, screed, adhesive, tile or timber, and any underlay. Adding those thicknesses before work starts exposes conflicts while they are still cheap to resolve.
For example, a bathroom tile on a thick adhesive bed may finish higher than a hallway engineered timber, creating a step at the door. The brief should decide whether that step is to be removed by adjusting the screed, absorbed by a ramped threshold, or accepted as a deliberate change of level. In accessible or later-living projects, even a small upstand can matter, and Part M guidance on level access is easier to satisfy at design stage than after the screed has cured.
Threshold type should also be chosen before the door set is ordered. A flush transition requires a precise relationship between the two floor finishes and the door line. A ramped threshold needs enough width to avoid a trip. A stepped threshold needs a visible nosing and a consistent height. Each choice affects the door position, the frame and the architrave.
Undercuts and Door Clearances
The undercut beneath an internal door is often treated as a final-fix adjustment, but it is better calculated as part of the door schedule. The clearance must accommodate the finished floor covering, the threshold, any rug or mat likely to be used, and a small working gap so the leaf does not drag. A common figure for carpet is around 8 to 10 mm, but tile, timber and threshold profiles can change that.
Fire doors require particular care. Reducing the undercut is not a neutral adjustment; it can affect smoke control and certification. On a renovation where existing door sets are being retained, the brief should identify which doors are fire doors and who is responsible for verifying the clearance after the floor is laid. Where new floor finishes raise the finished level, the door may need to be removed and trimmed before decoration, not after.
Skirting and architraves should also be considered at this stage. If a new screed raises the floor, the existing skirting may need to be removed and refixed higher, or replaced. Discovering that after painting is a costly way to learn that the floor build-up was never checked against the door and wall details.
Expansion Gaps, Movement Joints and the Perimeter
Timber expands and contracts, screed shrinks, and tiles move. The finished room should conceal those movements without restraining them. A perimeter gap beneath skirting is normal, but it needs to be consistent and it needs to remain clear. Filling it tightly with adhesive or grout can transfer movement into the visible finish.
In larger tiled areas, movement joints should be set out before tiling begins, not added as a remedial measure. Underfloor heating increases the need for a clear movement strategy, and timber flooring should be acclimatised according to the manufacturer’s instructions before installation. The brief should state who is responsible for checking moisture content and substrate conditions, and when that check takes place.
Extensions, Open-Plan Spaces and the Long Sightline
Open-plan work amplifies small errors. A two-millimetre difference at a doorway is barely noticeable in a closed room, but across a long sightline from a kitchen into a garden room it becomes a visible line. Where an extension meets an original house, the threshold should be detailed as a deliberate junction, not left to the flooring contractor to improvise.
At bi-fold and sliding doors, level access and drainage falls need to be coordinated. A flush cill and a threshold drainage channel can look effortless, but they require the external paving, door track and internal floor to be set out together. The earlier those levels are agreed, the less likely it is that a graceful opening is compromised by a late upstand.
A Sequencing Checklist for the Brief
Before the first fix, the renovation brief should confirm finished floor levels room by room, identify every threshold and its type, record door undercut requirements, and set out movement gaps and joints. It should name who checks each item and when. A sample threshold or mock-up at a doorway is often more useful than a written description, particularly where two materials meet.
None of this is glamorous. It is the quiet geometry of a good renovation, and it is exactly the sort of detail that a smooth finish depends on. Materials set the character of a home, but the last five millimetres decide whether it feels finished.